Tuesday, June 23, 2009

Convert Computer Power Supply to use for CB / Ham radio

Got a old computer or power supply laying around?
Put it to good use, by converting it to a 12 volt supply for a CB or small ham radio.

1st of all, most power supplies cant just be wired to work for 12 volts, the right way.
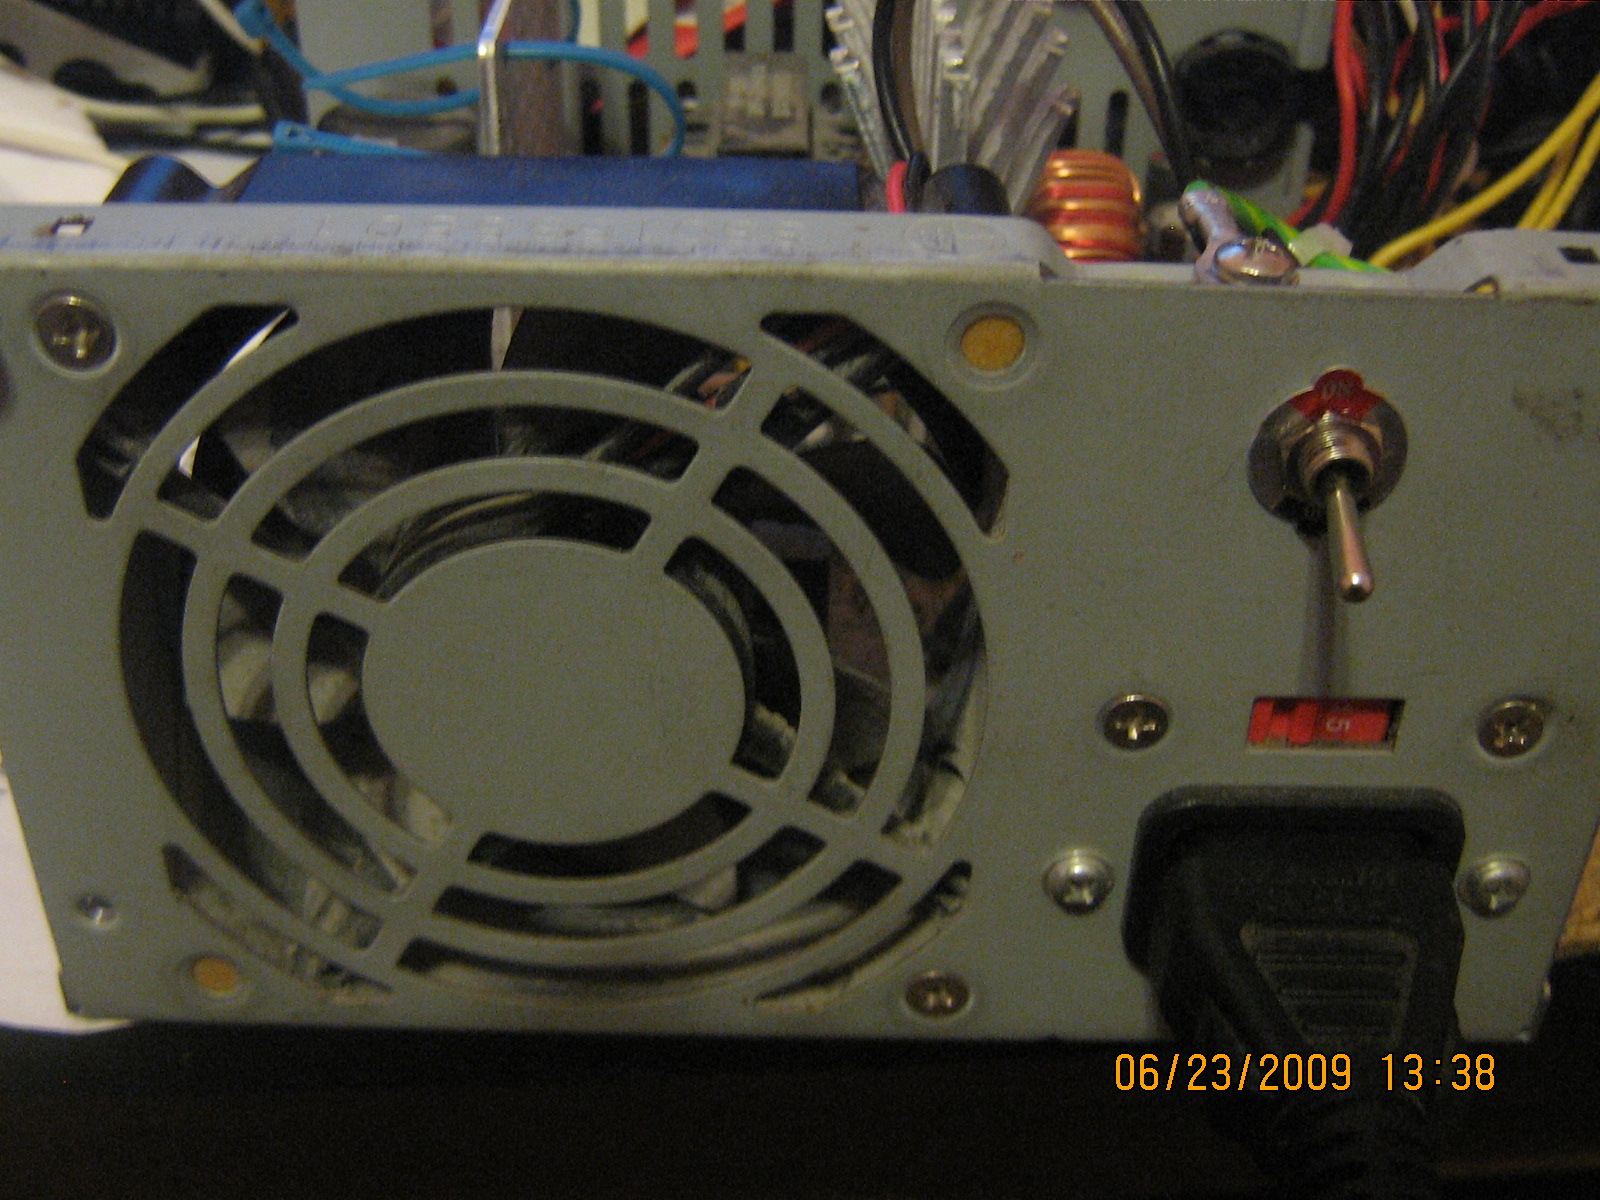
Im using an older power supply, not sure what the type is (sorry) but it used a push button hard on/off switch on the computer.

**Make sure the power cord is disconnected**
Take the power supply apart.
I removed the old push button on/off switch and re-wired it to a SPST 6a/125v toggle switch.
I drilled it into the case, above the power cord location. This allows me to have a self contained switch, instead of one hanging on a cord.


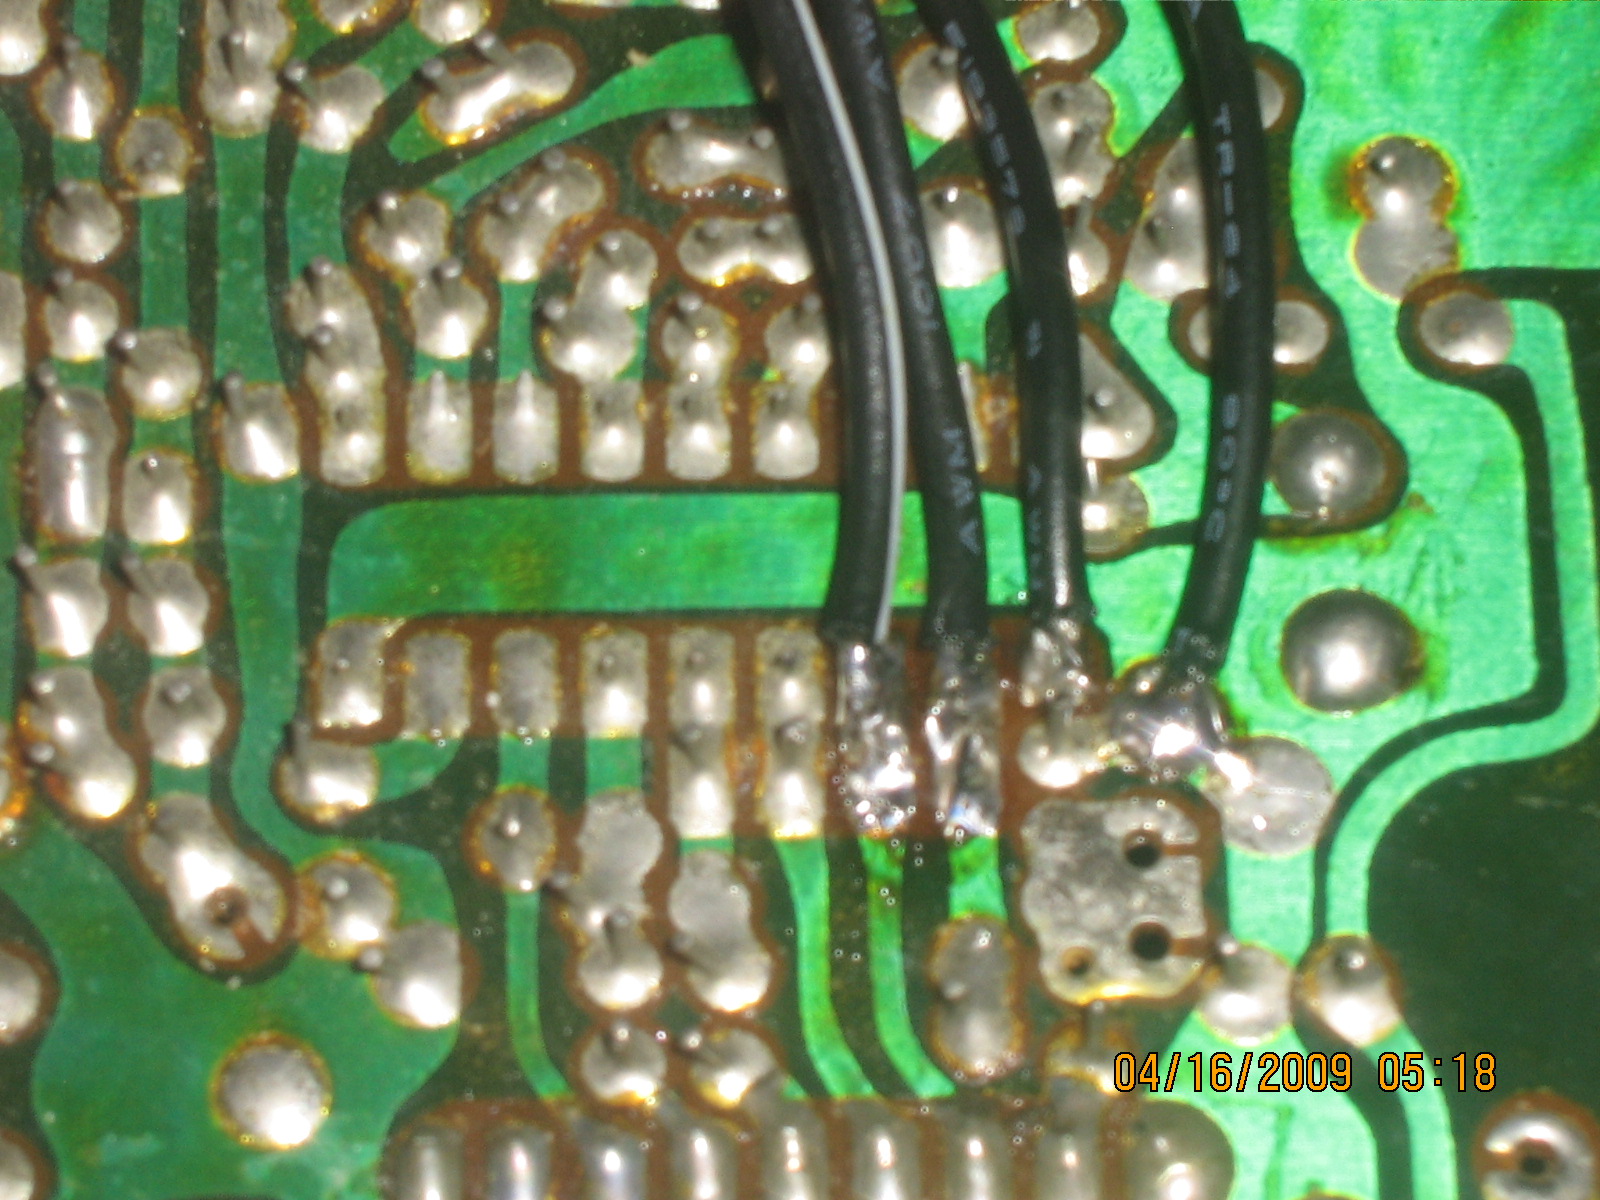
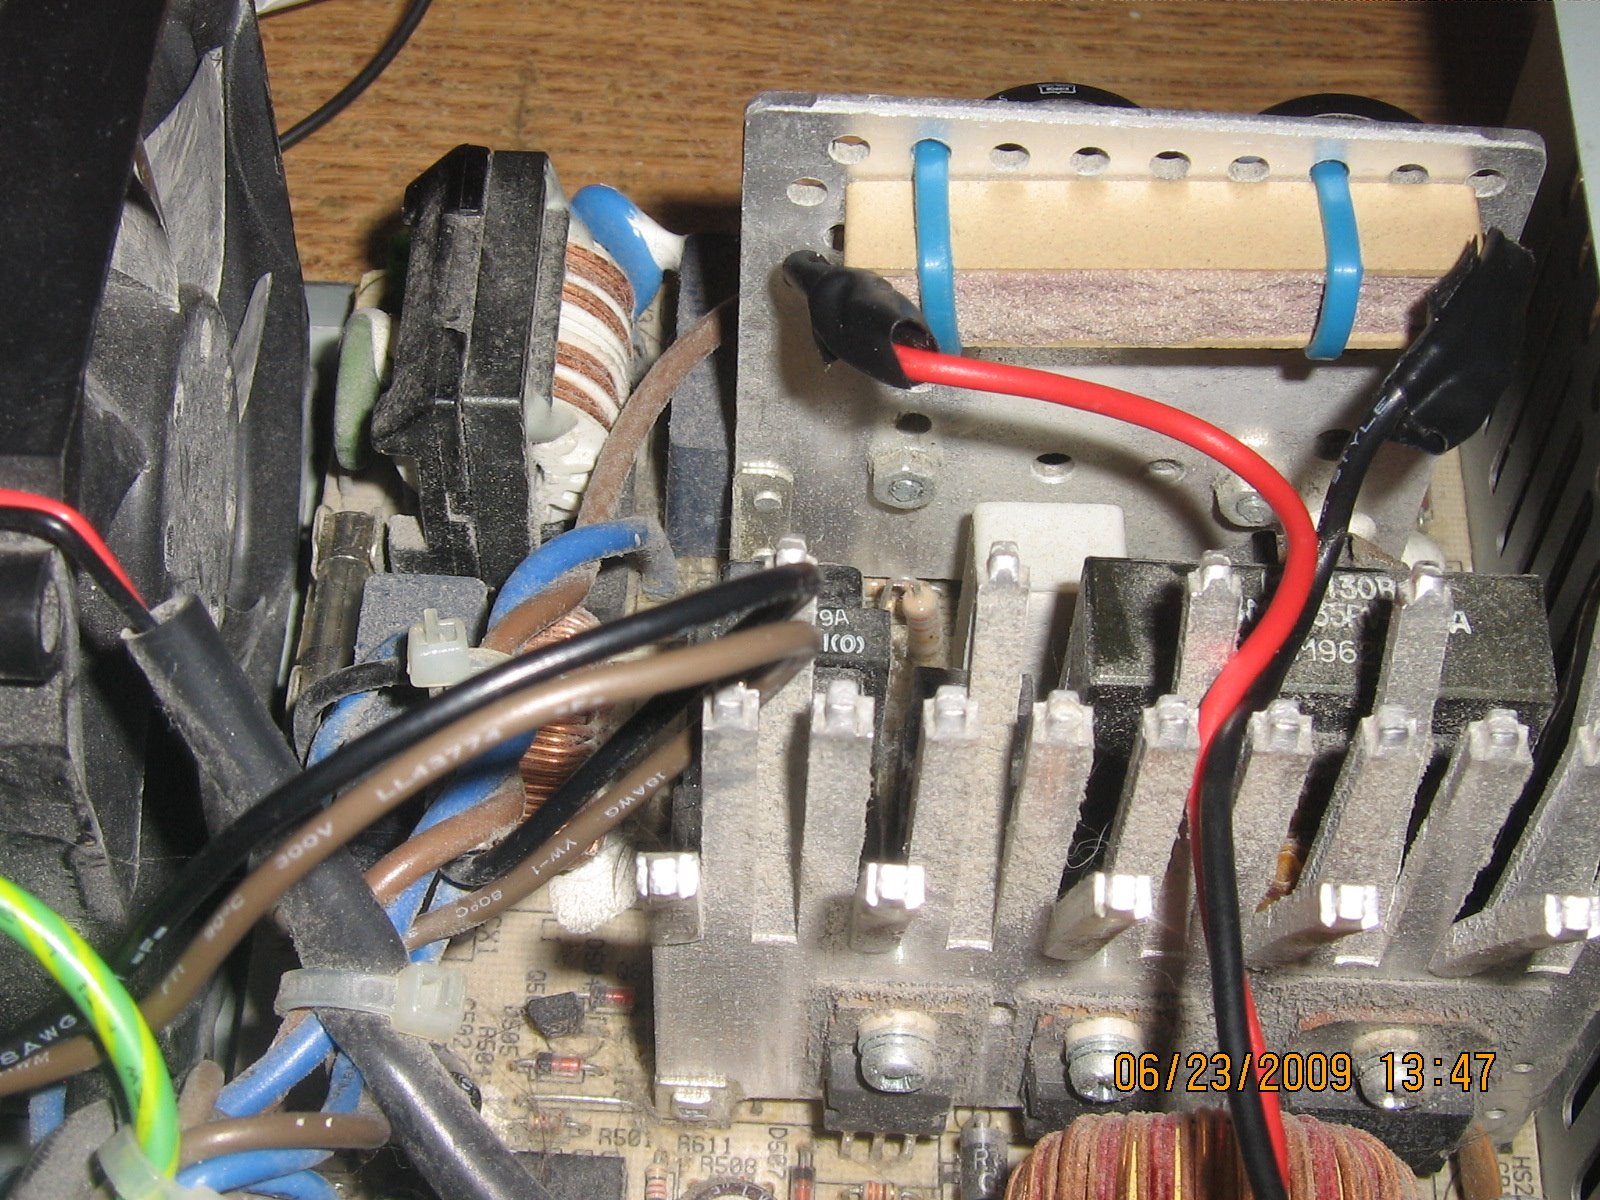
Yellow wires are going to be you +12volt.
Black wired are Neg.
Red wires are +5 volt.
White wire is -5volt
Blue wire is -12 volt.

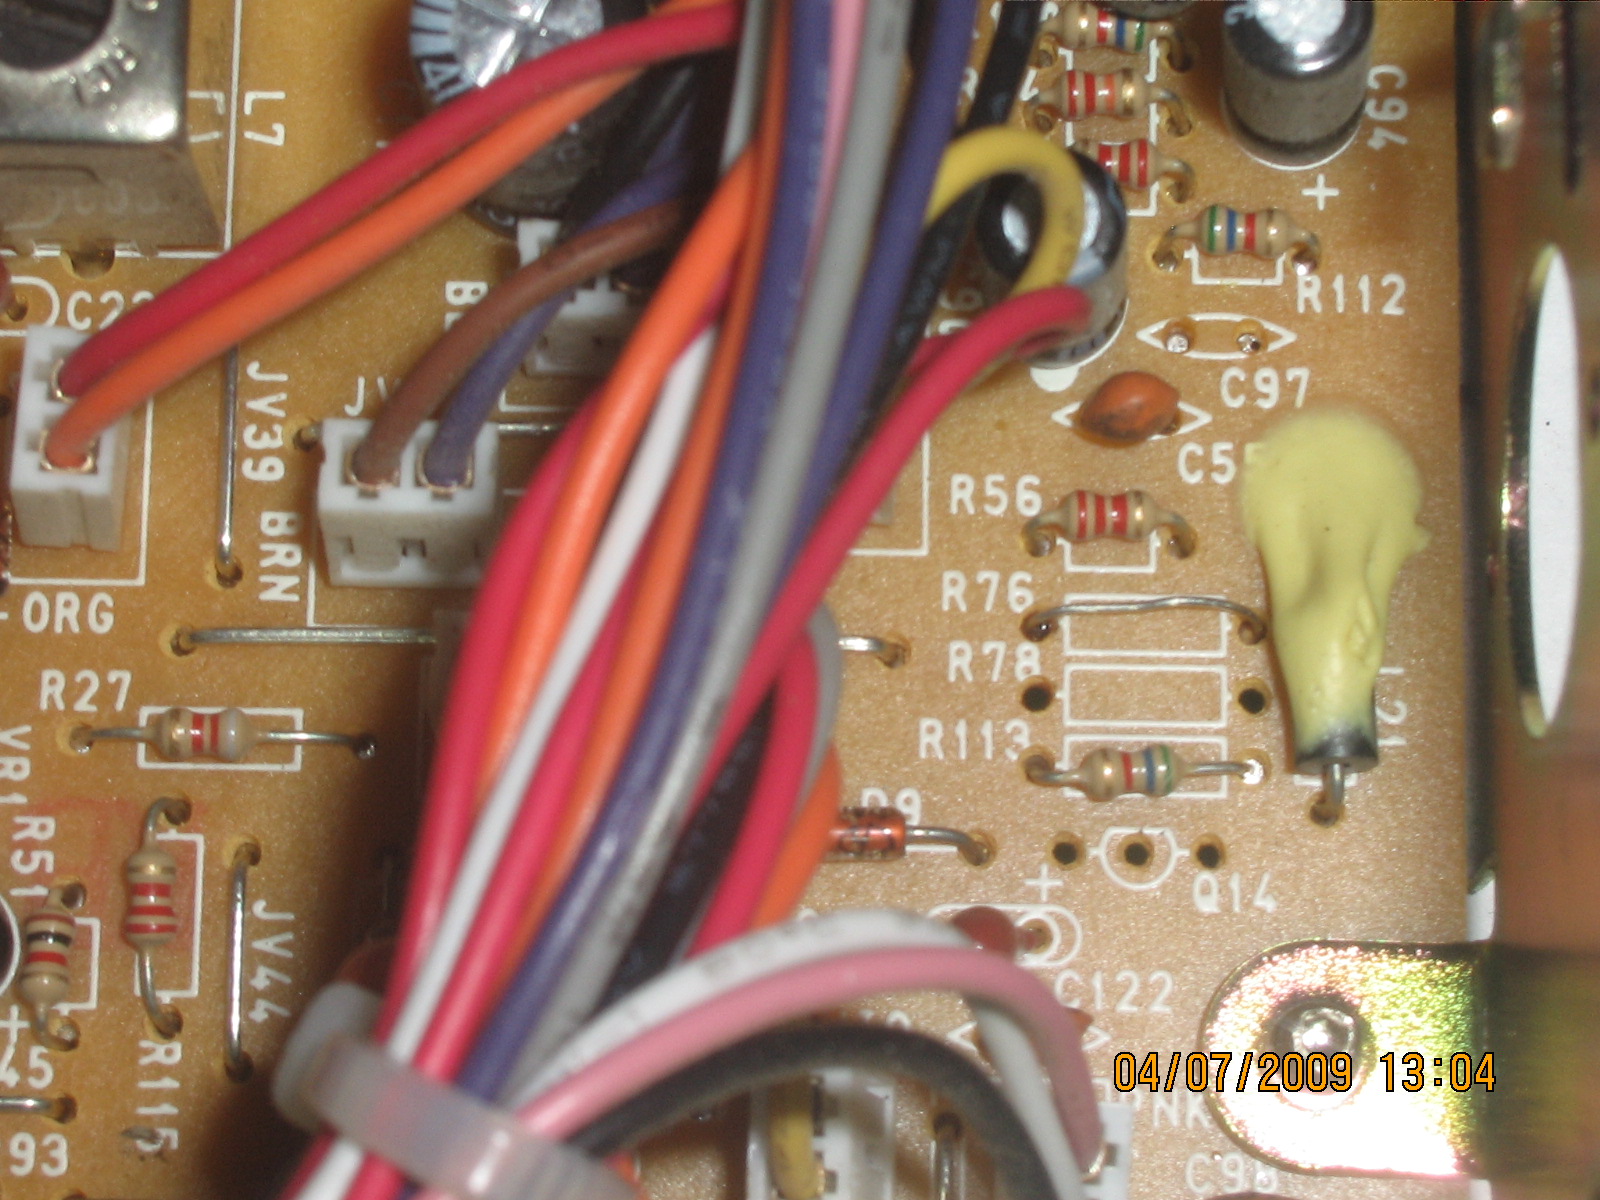
Remove the Blue, White and all but 1 red wire. Just cut them as close to the pins as possible.
You will need 1 red wire.
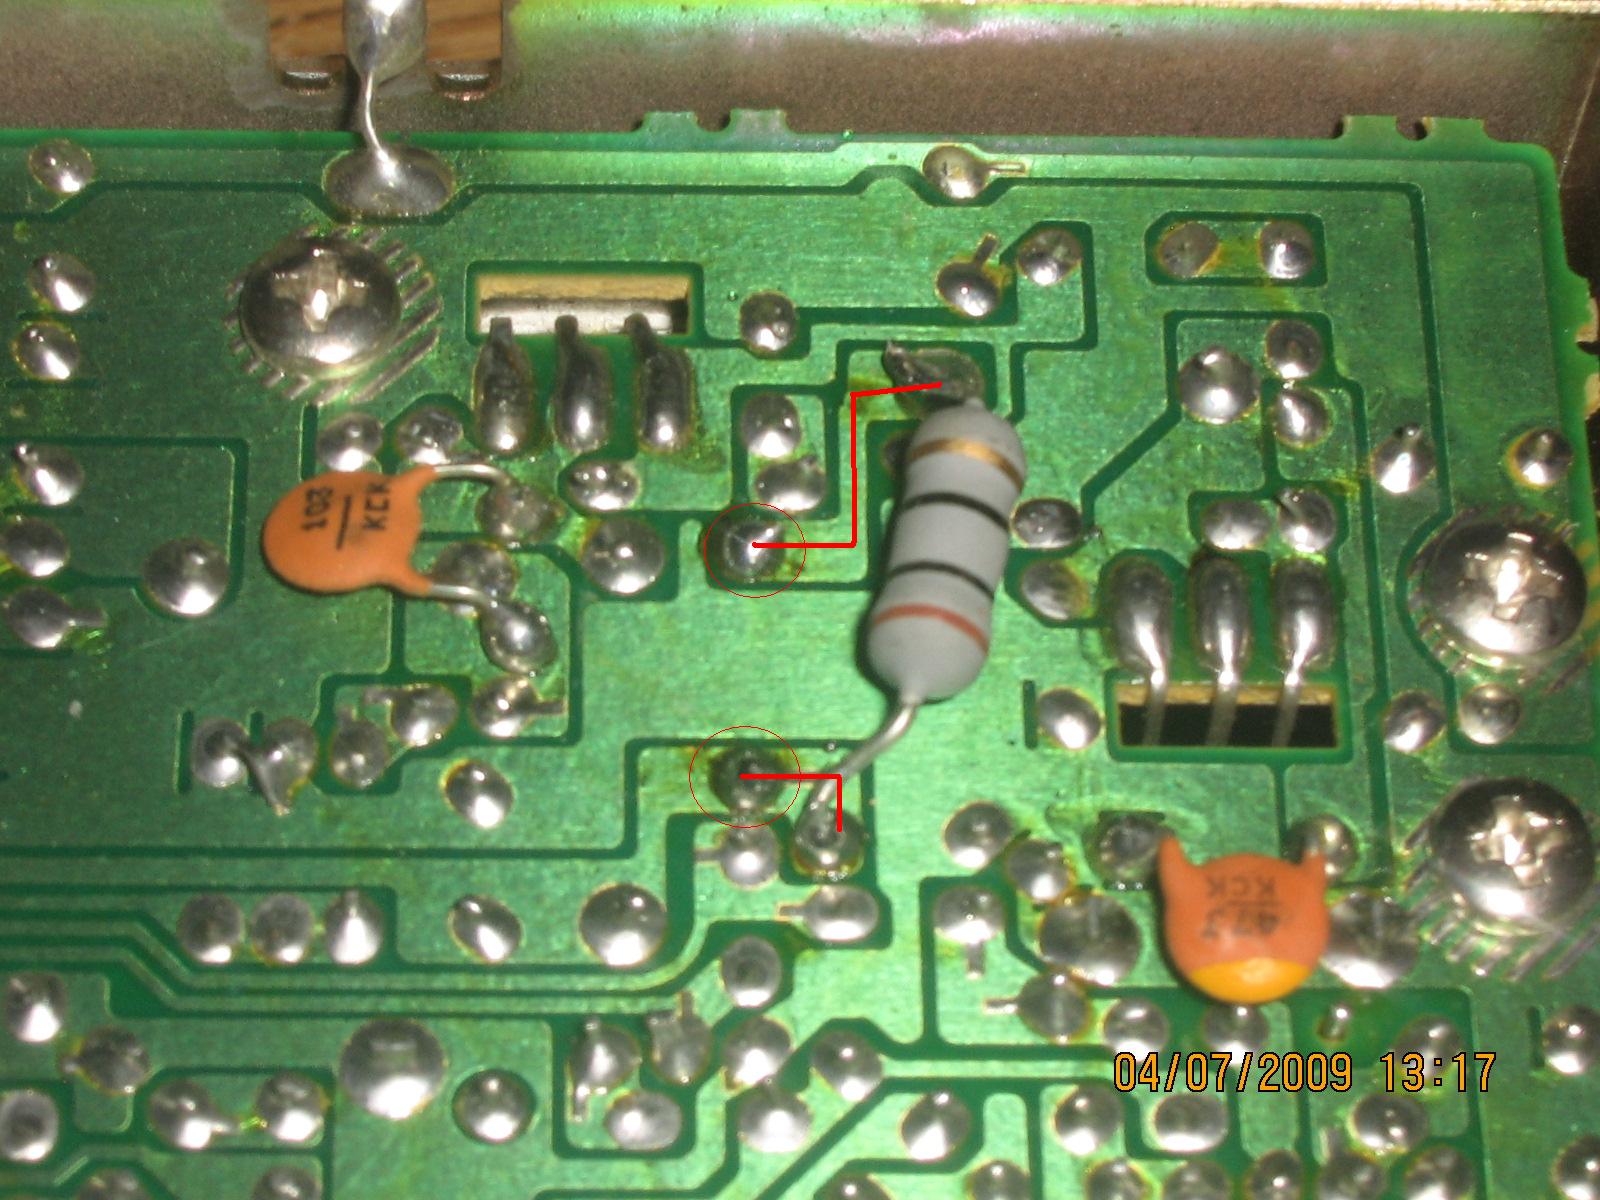
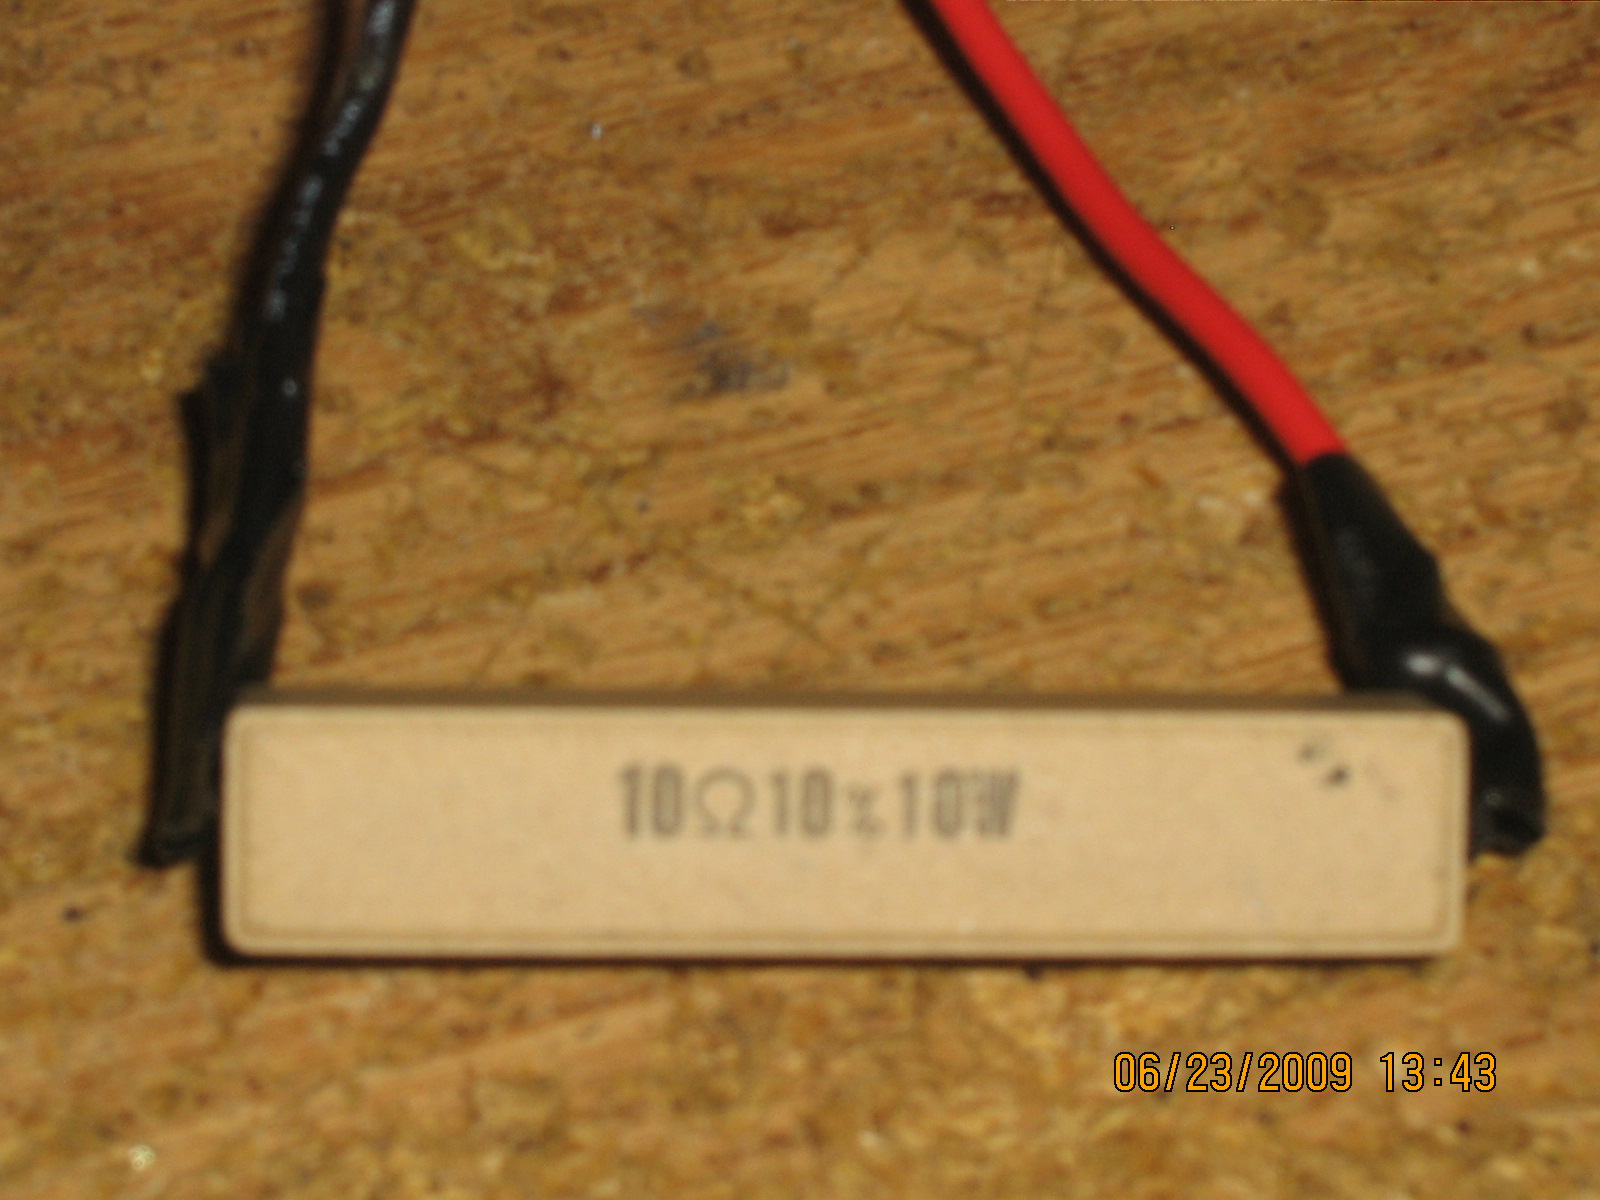
You will also need a 10 ohm, 10 watt resistor, available from Radio shack.
This will need to be wired and soldered inline with a Black Negative wire, to put a load on the +5volt circuit. Without this, your power supply wont produce the correct voltage.

Without a load on the +5volt circuit, I tested 10.2 volts on the 12volt wires. After adding the load resistor, I got 12.1 volts.
You will need to secure the resistor to a heat sink or to the case, with zip ties, because this will need some metal to cool it, as it will get hot. You can put it near the fan too, to keep it cooler.


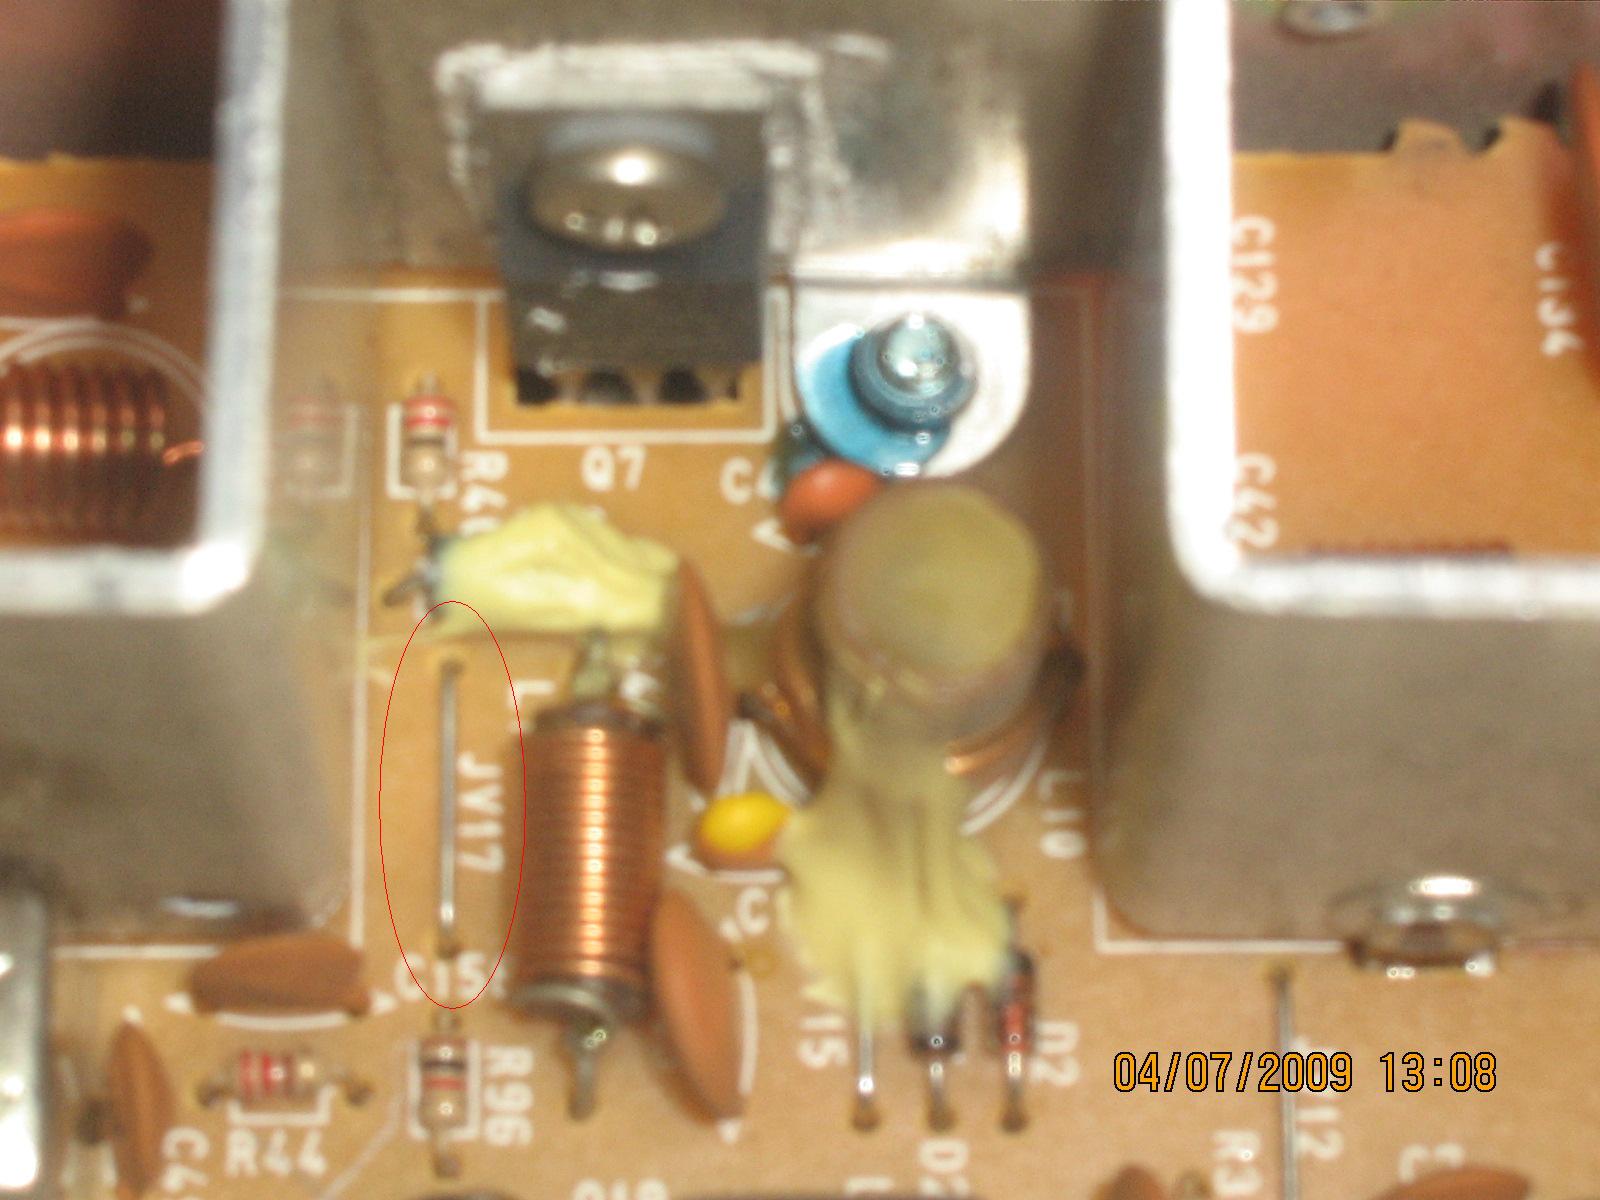
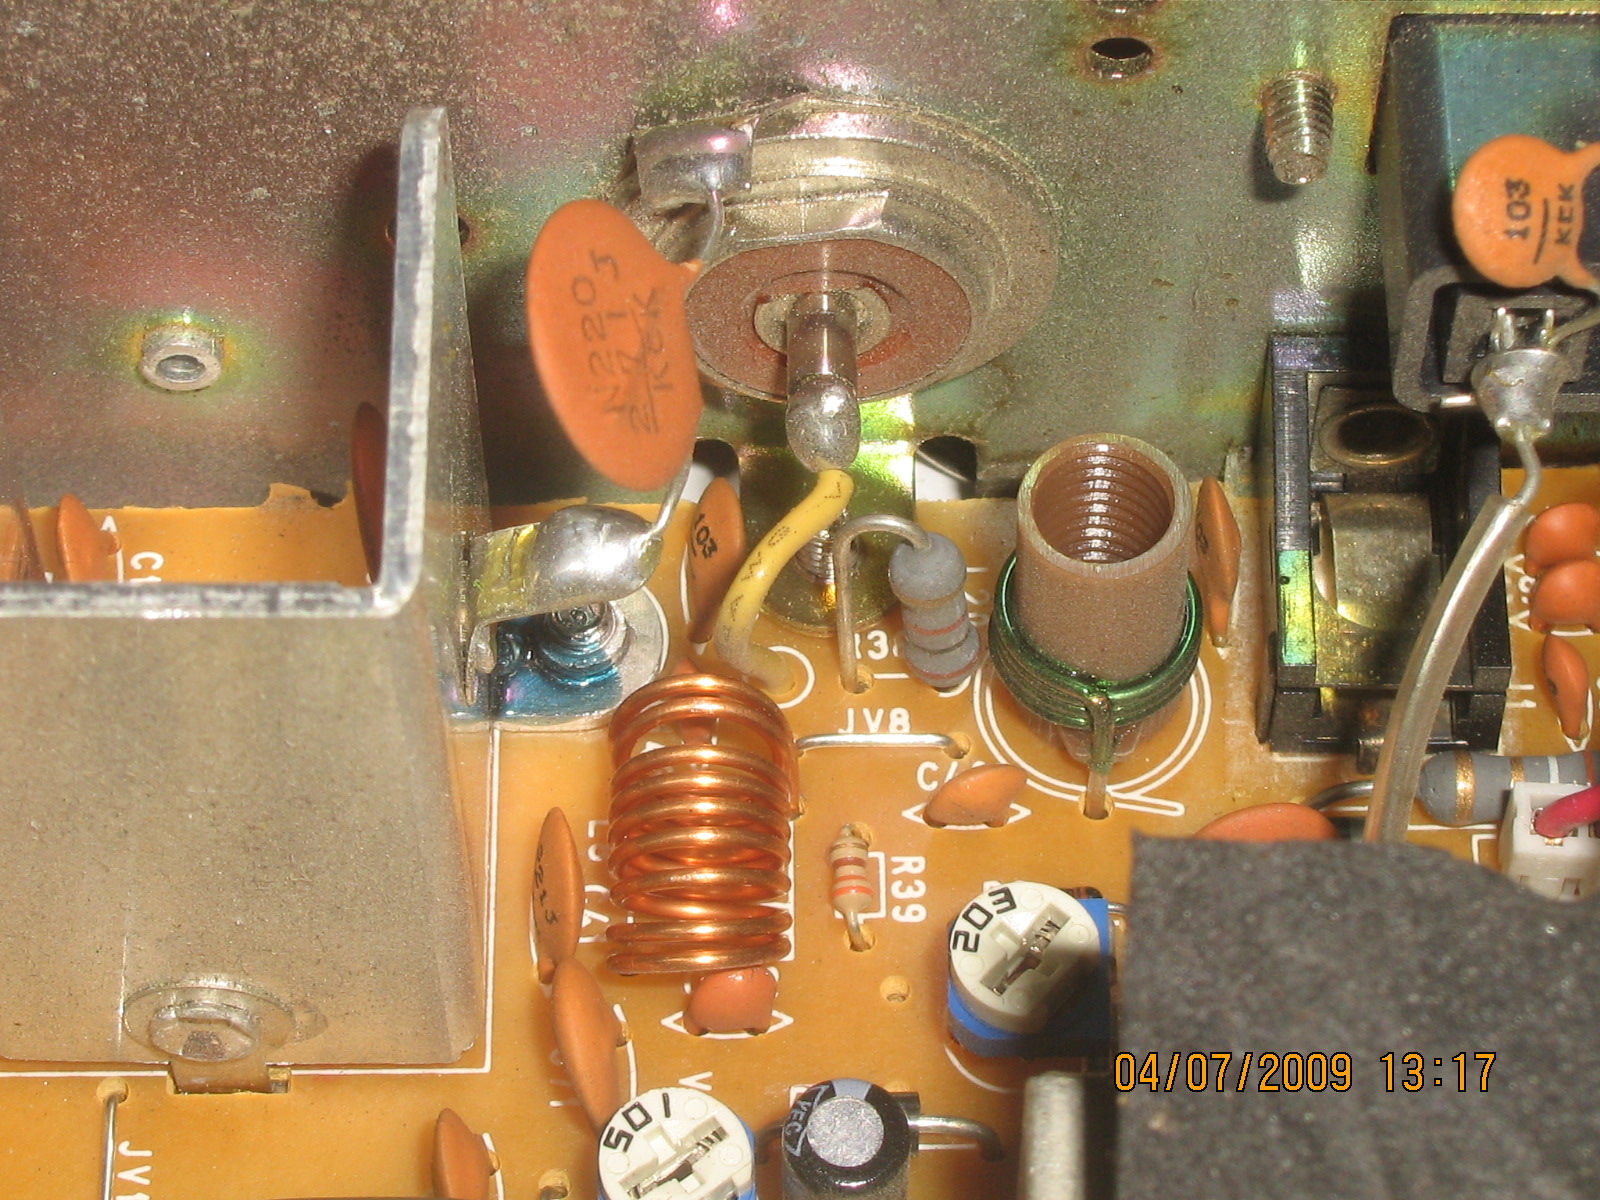
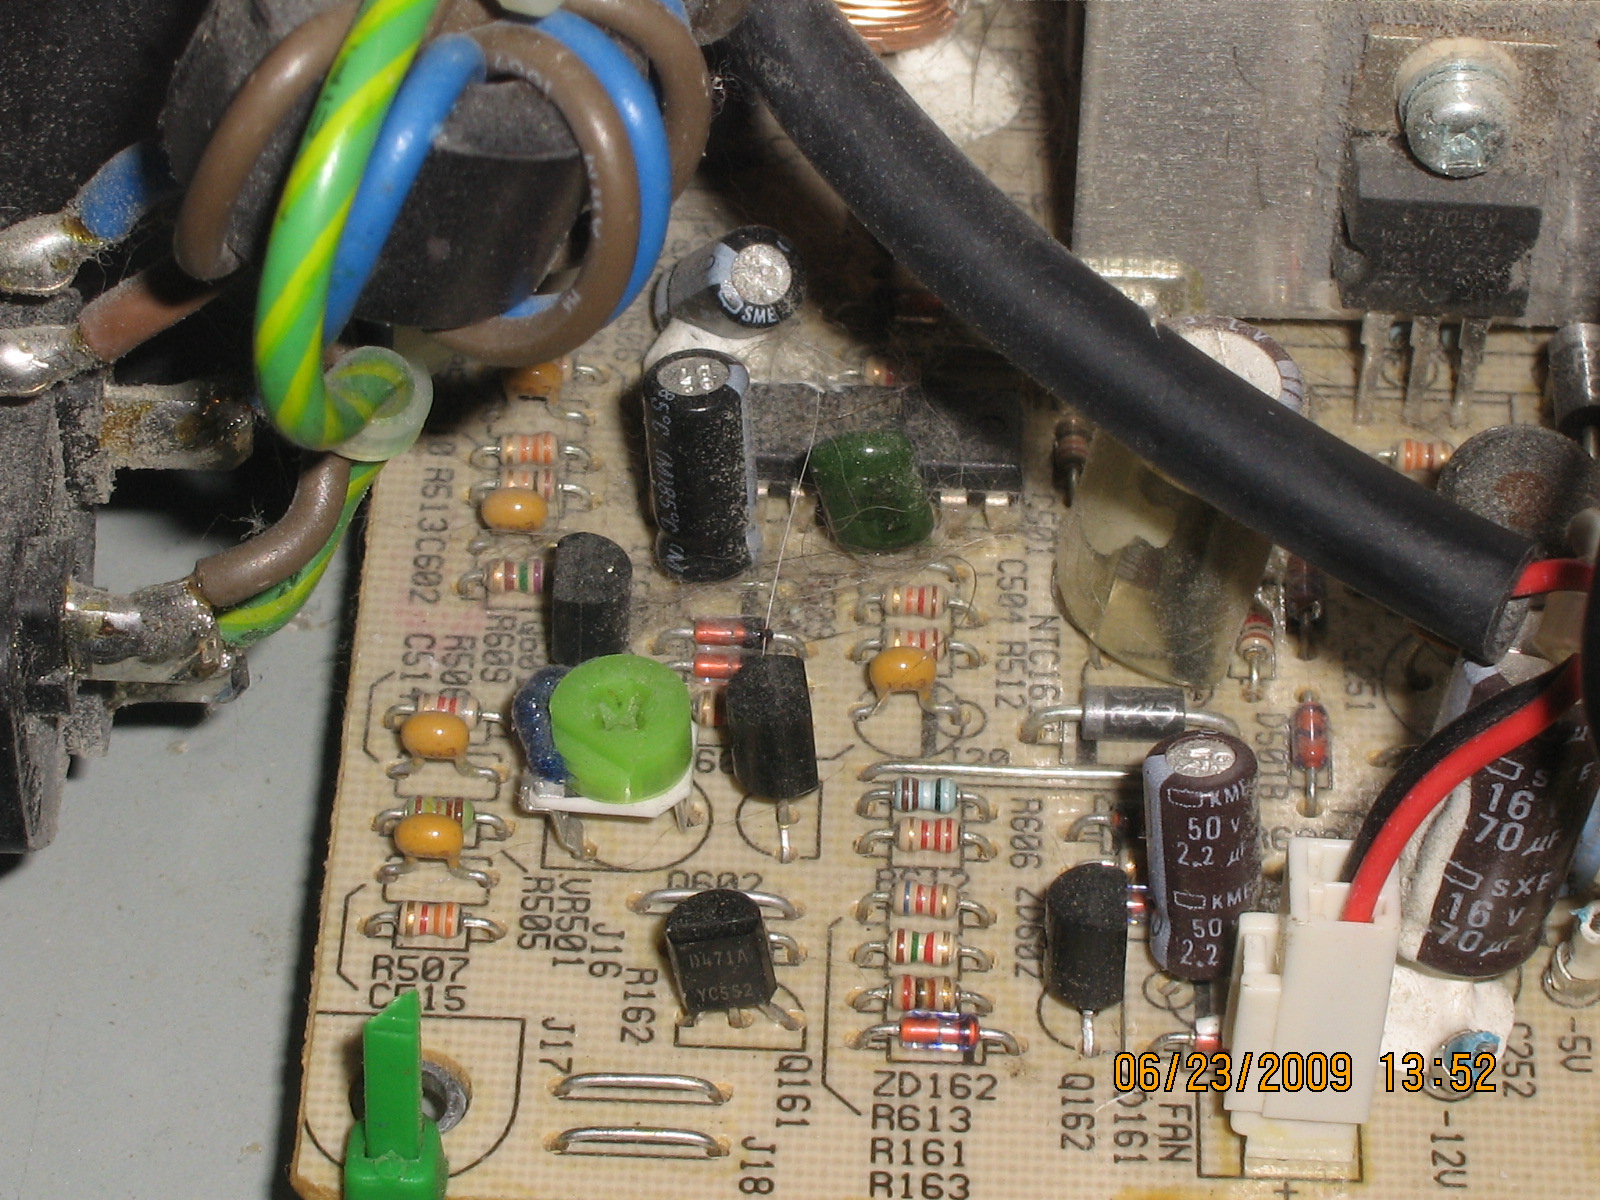
I also found the voltage regulator VR pot, and I adjusted it to the max, which gave me 12.5volts, which makes it even better for 12 volt equipment.


Now all you need to do is limit the amount of +12voltwires and Negitivewires that you will need, as there are probably more than you will ever need. I cust all but 4 of each.

Now put the power supply back together, and thats it!
Now I have a 12 volt, 7 amp power supply for under $5 in parts.

Labels: , , ,

Tuesday, June 9, 2009

Cobra 25, 29 Uniden PC 66, 68, 78 Talkback Mod

This is a easy $1 mod to add talkback to your CB Radio.
This will work for the following radios with no problems.

Cobra 25
Cobra29
Uniden 66
Uniden 68
Uniden 76
Uniden 78
and many more.

All you need is a simple resistor added to the bottom of the board, near the Ext and Pa speaker jacks.

Find the 2 solder points, closest to the rear of the radio, directly above the EXT and Pa jacks.
These are going to be the Negative or Ground side for the audio.

Solder a 1/4 or 1/2 watt resistor between these two solder points. Make sure that the resistor itself does not short out anything on the board or touch anything else. You can wrap it in tape, heat shrink or just keep it lifted slightly above the board.


Use a 100-500 ohm resistor.
The Lower the resistance is, the Louder it will be.
A 100 ohm will be Louder than a 470 ohm.
I like to use a 220 for most mics, or a 470 for good power mics.
You can also wire up a 1K variable pot to adjust the volume level.
You can also use a switch to turn it on/off, just wire it in series.
Ive used the Norm/Ch9/Ch19 switch as a Off/Low/Hi with 2 resistors, to make it adjustable for different mics or volume levels.


Thats it! Just 2 solder points for basic talkback.

Labels: , , , , , ,

Monday, June 8, 2009

CB Mic Connector Problem

If you have ever had a CB mic that randomly cuts out on the Receive, Transmit or Audio, even when you have checked the wiring in the plug and it seems fine, then this is the EASY fix for most radios.

Most radios, including Cobra, Uniden, Galaxy and more use a connector that can fail easily, but its a simple 30 second FREE fix.
This is only for 4 pin microphone connectors, as the 5 and 6 pin are built different.

If you look closely at the male pins on the radio's connector, you will notice that they are split down the center. I have found over the years that these pins tend to get pinched together and flattened, when they should be slightly spaced apart, to create a good electrical connection.


Simply take a small flat head screwdriver and push it into the slots on the pins and spread them SLIGHTLY apart. Spread them less than 1mm. If you spread them too much, you can bend they way out of place and they may break when trying to bend it back.
This allows the MALE pins to fit better into the FEMALE holes in the mic's plug.

this should solve most problems, as long as the wires are soldered properly.
I have done this in over 50 radios over the years after other people have tried to re-wire mic plugs and swap out mics endlessly, when it was just a simple bad connection thats easily overlooked.

Labels: , , , , ,

Thursday, April 16, 2009

Cobra 148 GTL Audio and Power Mods.

A simple way to really increase the audio of a Cobra 148 GTL CB radio is to find R126 and jumper it. It is a 10K ohm resistor about 1" to the LEFT of the MIC jack.
Do NOT remove the TR25 Mod Limiter on this radio, as it will sound like crap later.


To add extra channels install 2 switches in the radio, or use the HI/LOW and BRT/DIM switches on the front.
My friend wanted 2 new switches on the rear, so thats what I did with this radio.

You will need 2 SPST switches.

Find the PLL IC and find pins 10, 11 and 12 and the large Ground trace near pin 10.

Wire Switch 1 to Pin 10 (pin goes to nothing) and also to GND pad.
Wire Switch 2 to pin 11 and pin 12.
Be very careful to not use too much heat on the IC pins, and they are fragile and you can damage the PLL chip. Use a 30watt max solder pencil.

Labels: , , , , ,

Tuesday, April 7, 2009

Uniden PC 66 and PC 68 Audio and Power Mods

Here is a simple $5 way to crank your Uniden PC 66 or PC 68 radio to be a loud talker.

Parts you need.
35volt 220uf Electrolytic Capacitor
10 Ohm, 1watt resistor


1st we'll do the audio.
There is no internal VR# adjustment pot to turn up on this radio, just on the front.
Doing a few small mods opens it up about 40% more audio. You may not need any power mic after this mod.

On the PC 66 look right below the mic connector.
On the PC 68 its on the front right side, near the edge fine these 4 parts.
R76 Remove and add Jumper wire across this.
R78 Remove (Added resistance on audio line to ground)
Q14 Remove (Mod Limiter)
C97 Remove (Filtered Audio to Ground)

This basically opens up the restrictions on the audio pre-amp circuit.
If you plan to use a good power mc, you might need to leave C97 in to reduce RF squeal or hum.
Some people prefer to leave the mod limiters in, to reduce splatter, but for a LOUD radio, I a remove it on this model.


Next is the power output.
This is a touchy subject for some people, but I prefer to use "swing kits" in my radios.
I like to have my radio deadkey low, and swing high when I talk.
This add a lot more audio and "punch" to your voice.
What it basically does is lowers your output when your not talking, and raises it when you do talk. This reduces the power load on the radio, due to poor design, and "reserves" some power for your audio.

To add the swing kit, find JV17 in the back of the radio, in front of the Final.
Remove this jumper wire.


Now install your 35volt, 220uf Capacitor in this spot. Use the NEGATIVE side in the hole towards the BACK of the radio. Insulate the wire with tape or heat shirnk tubing to prevent it from shorting the metal nearby.

Now flip the radio upside down.
Find where you remove the jumper wire, and install the 1W, 10 Ohm resistor.

Now that you have installed everything, tune the radio. On most of these radios, you dont need to adjust the L10 coil, but some radios are off a little bit from the factory.
Spread the coils on L8 apart slightly.


You can also replace the c2028 Final transistor with a high power 2sc1969. This will be a great mod, if you can happen to find them, as they have been discontinued and are getting harder to find new.

That's it!
Thats the secret to tuning up a Uniden PC 66 or PC68.
Save yourself $20-50 at a radio repair shop, if you want to do this work yourself.

Labels: , , , , , ,

Wednesday, March 25, 2009

RX Recieve boost on Cobra 29 and Uniden PC 78

Here is a very simple was to use 1 or 2 components to add super recieve boost to a Cobra 29 or Uniden PC78 CB radio.

Parts + tools required:
CB radio (duh)
Soldering pencil 15-40w. Do NOT use a large gun.
Small solder like .032" 60/40 mix or similar mix.
22-24guage wire
220k to 470k ohm 1/4 or 1/2watt resistor.
Simple SPST switch or existing switch on radio.

Disconect the power cord from the radio. Dont do any work with it plugged in, just in case.

1st find pin 14 on the PLL of the radio. Do this with the radio upside down, front facing you.
you will see that Pin 14 is a blank pin with no traces, or it may have a small capacitor on it going to the large ground trace.
Solder a wire to that, being very carefully not to use too much heat or leave it on too long, as the PLL chip is very fragile.
Attach this wire to your switch with about 4-8" of wire, depending where your switch is located. If using an existing switch read below. I prefer to use the pointless CH9 switch.

On the other side of the switch connect your resistor. Be sure to trim the resistor so it doesnt have a long leg to where it may touch anything else.
On the other side of the resistor, add about 6-8" of wire.

Now find Resistor R11. You will need to tap the wire onto this resistor on the end of the resistor closest to the BACK of the radio. If you test it, you should get about + 0.8volts from here. This is going to supply the power for you receive boost.

Thats it! 2 wires, a switch and a resistor.
The reason you need a switch is cause this is going to be VERY sensitive and you should only use it when you need it, cause strong signals may peg your meter.
I got results of a signal of 2db with the boost off. I flipped it on and it jumped to 10+db.
This doesnt just increase the meter reading. It boosts up the actual receive and makes it so much louder and clearer.

I recomend using the 470k ohm resistor as the 220k may be too high, and the 470k is plenty for any of my customer's needs.

This should work on all the Cobra 29 models.
Cobra 29 WX
Cobra 29 LTD
Cobra 29 Classic
Cobra 29 ST
or any other variation, Except the older D858 PLL chip.
It also works for the Uniden PC 78 models or any variation.

Labels: , , , , , , ,

Thursday, March 5, 2009

CB Echo board audio problems

As a CB tech, I have worked on lots of radios, and I have had to fix many hack jobs.
One problem I have come across a lot lately is echo boards not working right.

The main problem I see is a echo board that requires 8volts, but the hack tech hooked it up directly to 12-14 volts. This can blow the board, but luckily most of the time it just makes it squeal and hum. If it takes 8 volts, its as simply as tapping into the 8 volt regulator. 95% of radios have this on the board.
Most Cobra radios use TR23 for 8 volts.
Most Galaxy radios use Q37 or TR41 for 8 volt supply.
They are the large transistor in the front right of the radio, when the face is towards you, component side up.
Simply use a volt meter and tap there. Walla, No squeal, No Hum.

The next problem is the adjustment for the echo time.
For some reason, some boards wont do a slow echo. If you turn the speed to the left of center, it turns off. This is a problem with the board setup, but it can be solved easy.
Simply remove the Ground/Shield wire from the time pot, and relocate it to the Ground/Shield of the Amount pot. This will allow the adjustment to be turned down all the way, and have slower echo.
Sometimes this will create a hum when its all the way down. If so, add a .1uf capacitor to the now empty left pin of the speed pot, to either the 2 ground/shield wires or to the metal frame of the pot, where there may be another capacitor located. This should remove the hum when you turn the speed all the way down.

Labels: , , , ,